If you own a 3D printer you might have come across issues like nozzle wear and clogging and may have followed one of our guides on the topic. If all things fail you might need to change your nozzle. You might also want to perform a nozzle change in order to try our own advanced titan nozzle or just try another nozzle size.
Whatever your motive might be, here is our comprehensive step by step guide on how to correctly change your 3D printer nozzle while preventing injury to yourself, damage to your printer and more issues further down the line like molten plastic leaking around your nozzle and ruining your hotend and maybe even burn down your house..
Step 1: Heat up your hotend to printing temperature
The first thing you will need to do is heating up your hotend to your standard printing temperature. This serves three purposes:
- This will allow you to remove the filament from your hotend.
- If plastic has leaked between your nozzle and the heater block this will allow it to be liquified.
- Your heater block, heat brake and nozzle experience thermal expansion to a different level when heating up and cooling down. This is due to your hotend being made up of different materials with different coefficients of thermal expansion Your nozzle will be much easier to remove with a heated up hotend.
Thermal expansion is the tendency of matter to change its shape, area, and volume in response to a change in temperature. - Wikipedia
The coefficient of thermal expansion describes how the size of an object changes with a change in temperature. Specifically, it measures the fractional change in size per degree change in temperature at a constant pressure. - Wikipedia
Be careful not to burn yourself during the following steps!
Follow this guide at your own risk!
Kids: ask an adult to help you with this!
Step 2: Remove the filament that is currently loaded
You now need to remove any filament that is currently in the hotend. How to do this is very dependent on the model and brand of your 3D printer. In some cases like the Ultimaker family of printers this is done through software and the extruder is going to remove the material. In other cases like with the prusa family this is done manually.
Step 2b: Clean your nozzle
If you want to reuse the nozzle you are removing now is a great time to clean your nozzle. This can prevent it from clogging and also prevent color contamination when using it the next time. A good way of doing this is using the cold pull method. You can also use a soft wire brush to clean any plastic residues from the outside of the nozzle.
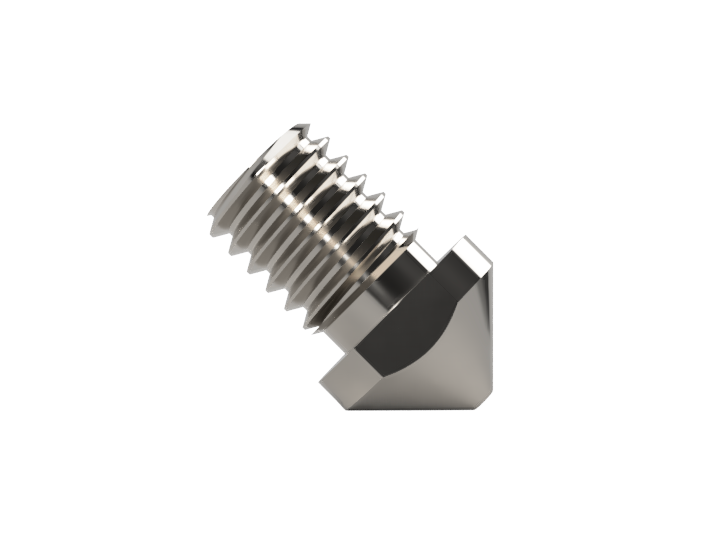
Step 3: Removing the old nozzle
For this step you are going to need some tools. For most common nozzles you will need a 7mm wrench to actually unscrew the nozzle. A good way to prevent you from burning yourself is by using a socket wrench. Note that not all nozzles are compatible with sockets…
For some hotends like the e3D family of hotends you are going to need channel lock pliers or an adjustable wrench to grab ahold of your heater block and prevent it from turning and potentially damage your heartbrake. Be very careful not to damage the thermistor or heater cartige cables.
On other hotends like the ultimaker family this isn’t necessary.
Now you can unscrew your nozzle. Be careful not to burn yourself.
Step 4: Installing the new nozzle
Now you need to choose the right nozzle and manually screw it in just a little, so that it doesn’t fall out. Be careful not to burn yourself. As for the removal, a good way to prevent you from getting burned is by using a 7mm socket.
Now you can start tightening it with a hot hotend. This is very important because it will avoid leaking issues and stop your nozzle from becoming loose in the future because of thermal expansion. Be super careful not to over tighten it! This can ruin your nozzle and your heater block.
Once you get some experience with 3D printing you will feel when the nozzle is tight enough. But for a beginner this might be very hard. A good way to make sure that your nozzle is correctly tightened and that it is also consistently tightened every time is by printing and using the nozzle torque wrench designed by Anders Olsson. Once your nozzle is tight enough it will click and let you know that you can stop applying force.
Step 5: Insert material, prime the nozzle and start printing
At this point you can simply insert the filament you want to use and prime a few millimeters to make sure that there are no air bubbles, contaminations or dust trapped in your nozzle and then you can start printing again. Happy printing!